2000AD, PROG 2065

Writers: Michael Carroll; Pat Mills; Ian Edginton; Peter Milligan
Artists: INJ Culbard; Clint Langley; Paul Davidson; Patrick Goddard; Rufus Dayglo
Colourists: Chris Blythe; Dominic Regan
Letterers: Ellie De Ville; Annie Parkhouse; Simon Bowland
Publisher: Rebellion
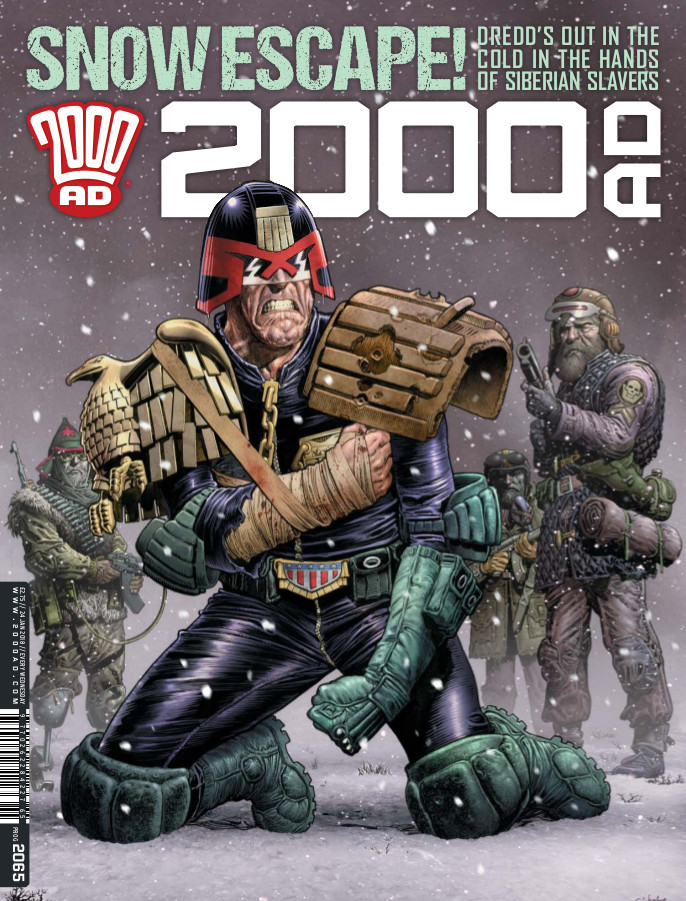
Dredd’s had a hard time of it lately, and after his flight crashed in the Russian wastes Judge Dredd: The Shroud sees him in the hands of slavers. Art responsibilities are handed over to Paul Davidson and we get a brief introduction to Dredd’s new companions as well as his new boss, Maul. If you want to establish a character as a volatile powerhouse, the best way to do it is by having him give a speech before punching a man so hard in the face, his eyeballs fall out. That’s how you do introductions. The real issue with the series of short, linked tales we’ve been provided with for the last few months is that as quickly as a set up is provided, the problem is violently resolved before we move on again. This week gives us a solid set up, providing all of the details we might need for the next step of the adventure. It even goes so far as to give an actual reason why Dredd is always allowed to keep hold of his helmet when he falls into enemy hands.
In last week’s Savage: The Thousand Year Stare, Bill uncovered the terrible secret that The Thousand Year Stare was actually the Macguffin from 2012’s Dredd movie. Reeling from this revelation, poor old Bill was easily overpowered by the treacherous Volodina, who unveiled a secret plan to capture Bill by leading him directly into the secret base and gaining his trust by repeatedly throwing killer robots at him, which Volodina played little or no role in saving him from.
Savage has been transformed into a prologue for ABC warriors – a turn of events which we’ve seen slowly creep up on us for several years, but which stuns Bill so much that he allows two separate bad guys to complete their villainous monologues about how a cabal of billionaires are secretly the cause of all wars, before trying to kill a robot with a chair.
Maybe I’ve been a little harsh on Savage: The Thousand Year Stare. Artist Patrick Goddard has provided us with some nice emotive characters, solid action and robot design, and in this episode shows just how impressive his characters from ABC Warriors are. But we also get Bill scowling though his plot armour, yet another speech about how a secret society runs the world, immediately resolved cliffhangers, an evil plan to trap Bill that just seems rubbish, and unnecessary musical interludes.
And Bill needn’t have bothered because thousands of years later, in ABC Warriors: Fallout, the same battles are still being fought. Again, some beautiful shiny art by Clint Langley gives us a terrifying world of endless factories beneath a Martian sunset, where oversized robots fight each other. As with Savage, every conversation is about how the really bad, bad guys who secretly run the world are...really bad. In this week’s episode, Steelhorn and Zippo have an angry chat. Almost every panel could be enlarged to poster size and put on your wall.
Robots are also fighting each other in Brass Sun: Engine Summer. Brass Sun is slow, and doesn’t pretend to be anything else. Its about a clockwork world slowly grinding to a halt, about empires that span worlds and remain unchanging for thousands of generations. It’s slow – in the same way that Dune or The Foundation series are slow, with complex politics impacting the lives of millions. In this episode, we finally get a bit of action, as the cogs of power shift yet again. INJ Culbard’s deceptively simple art gives us some lovely design work,
In Bad Company: Terrorists, the soldiers of the now defunct Bad Company are still searching for Crawley, the man responsible for starting the war which left them broken. History is rewritten as once dead characters are returned to life, and the basic premise of war making men into monsters is lost as we are exposed to a world where everything is crazy anyway. The brightly coloured art is certainly eye catching, but the whole purpose of this mission is lost on me.
A Look Inside